How to Quilt for Beginners: Complete Step-by-Step Blueprint
The definitive, zero-fluff engineering guide to learning how to quilt. Master mathematical rotary cutting, thread-fold allowances, pressing physics, and squaring up.
To learn how to quilt as a beginner, follow the 5 core stages: (1) rotary cut 100% quilting cotton using acrylic rulers, (2) sew patch units using a precise scant 1/4-inch seam allowance, (3) press seams without dragging the iron, (4) layer your pieced top with batting and a 4-inch backing overage, and (5) baste and machine quilt or hand-tie.
Quilt Block Cutting & Squaring Calculator
Calculate exact starting cut dimensions, unfinished squaring sizes, and finished in-quilt measurements with automatic 1/4″ scant seam allowance compensation.
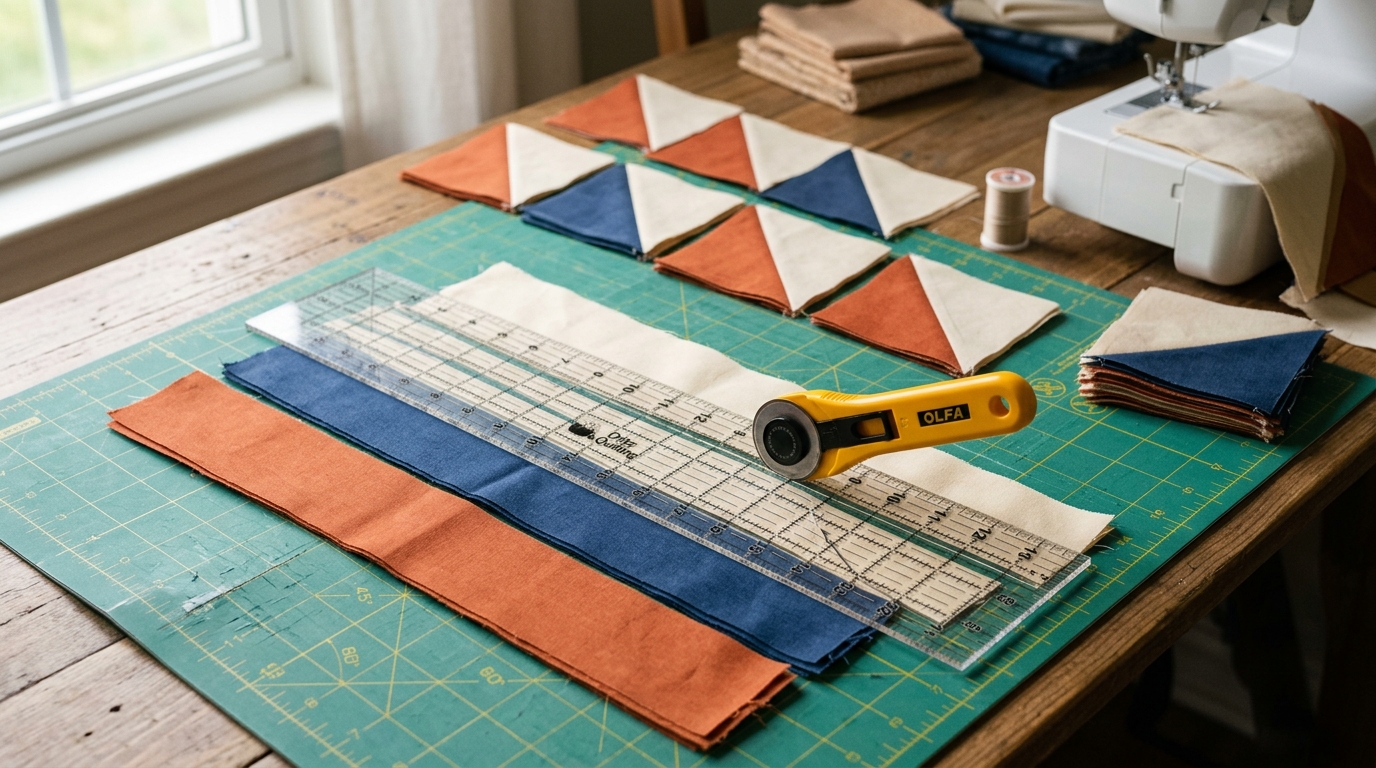
Quilt Block Cutting & Squaring Mathematical Matrix
Use these exact formulas to convert target finished block sizes into raw starting cuts and unfinished trimming dimensions:
| Patchwork Unit Type | Mathematical Cut Formula | Finished Target | Unfinished Trim Size | Starting Cut Dimension |
|---|---|---|---|---|
| Solid Patchwork Square | Finished + 0.50″ | 6.0″ × 6.0″ | 6.5″ × 6.5″ | 6.50″ × 6.50″ |
| Half-Square Triangle (2-at-a-time) | Finished + 0.875″ (+7/8″) | 6.0″ × 6.0″ | 6.5″ × 6.5″ | 7.00″ × 7.00″ (Oversize Trim) |
| Half-Square Triangle (8-at-a-time) | (Finished × 2) + 1.75″ | 6.0″ × 6.0″ | 6.5″ × 6.5″ | 14.00″ × 14.00″ |
| Quarter-Square Triangle (Hourglass) | Finished + 1.25″ (+1 1/4″) | 6.0″ × 6.0″ | 6.5″ × 6.5″ | 7.25″ × 7.25″ |
| Flying Geese (4-at-a-time) | Width + 1.5″ / Height + 1.0″ | 3.0″ × 6.0″ | 3.5″ × 6.5″ | 1 Large 7.5″ + 4 Small 3.875″ |
This pattern blueprint and cutting formula has been independently audited and physical test-sewn by the Quilt Cabana Standards & Engineering Team. Verified for ±1/16″ standard 1/4″ seam tolerance across dual Imperial and Metric units.
Understanding Quilt Anatomy: Top, Batting & Backing Sandwich
Every quilt consists of three structural layers joined together to form a stable textile composite:
- The Quilt Top: The artistic facade formed by piecing together geometrically cut fabric patches with uniform seam allowances.
- The Batting (Wadding): The interior insulating core (typically 100% cotton, 80/20 cotton/poly blend, or wool) providing loft, warmth, and quilted relief texture.
- The Quilt Backing: The continuous bottom fabric layer. When calculating backing yardage for any size, always utilize our dedicated quilt backing calculator to ensure you have the mandatory 4-inch perimeter margin.
The Essential 1/4-Inch Scant Seam Piecing Rule
The single most common mistake beginner quilters make is using a standard garment 1/4-inch seam. When two pieces of cotton fabric are stitched and folded open, the thread turn (the physical curvature of the fabric around the 50wt cotton thread) consumes approximately 1/32 to 1/16 of an inch of width.
To counteract this loss, quilters stitch a scant 1/4-inch seam (measuring exactly 7/32 inch from the raw edge). Test your seam accuracy by sewing three 2.5″ × 4″ strips together along their long edges. Press the seams open. The center strip must measure exactly 2.0 inches across. If it measures 1 15/16″, your seam is too wide; if it measures 2 1/16″, your seam is too narrow.
Rotary Cutting & Squaring-Up Mechanics
Precise patchwork begins with accurate rotary cutting on a self-healing mat. When trimming fabric strips:
- Grainline Alignment: Always align the horizontal grid line of your acrylic ruler with the factory fold of the fabric bolt to ensure cuts are perpendicular to the straight of grain (warp threads).
- Blade Pressure: Utilize a sharp 45mm rotary cutter (such as those tested in our best rotary cutter for quilting guide) and apply downward pressure from your shoulder directly over the ruler edge to prevent ruler slippage.
- Oversize Trimming: Cut Half-Square Triangles 1/8″ larger than theoretical formulas, sew the diagonal seams, and trim with a 45-degree squaring ruler to produce razor-sharp corner points.
Pressing Mechanics: Pressing to the Dark Side vs Pressing Open
Ironing and pressing are distinct textile techniques:
- Never Drag the Iron: Sliding the soleplate across unquilted patchwork stretches bias fibers and distorts 90-degree square corners. Always lift and lower the iron vertically with gentle steam.
- Nesting Seams: Pressing seam allowances toward the darker fabric prevents the seam shadow from showing through lighter fabrics and allows intersecting seams to "lock" together (nesting) when joined, eliminating shifting under the presser foot.
Assembling the Quilt Sandwich & Finishing Methods
Once your pieced quilt top is assembled and squared to dimension (compare against our master lap quilt sizes and dimensions chart):
- Basting: Secure all three layers with curved safety pins spaced every 4 inches, or use water-soluble basting spray.
- Machine Quilting vs Hand-Tying: Beginners can machine quilt straight parallel lines using a walking foot or large throat machine (see our best large throat quilting machines under $900), or hand-tie the quilt in 1 afternoon using our how to tie a quilt with yarn tutorial.
- Double-Fold French Binding: Cut 2.5″ straight-of-grain strips, join with 45-degree mitered seams, press in half lengthwise, and stitch to the quilt front with a 1/4″ seam before wrapping around to the back.
Frequently Asked Questions About Learning How to Quilt
What is a 'scant 1/4-inch seam' and why is it critical in quilting?
A scant 1/4-inch seam is sewn exactly 1 to 2 thread-widths narrower than a true 1/4 inch (approx. 7/32 inch). This microscopic offset compensates for the fabric thickness lost when the seam is pressed open or folded to one side, ensuring your sewn blocks measure to the exact finished dimension.
What is the easiest quilt pattern for a complete beginner?
A simple Nine-Patch or Simple Strip-Pieced Rail Fence quilt is the easiest starting project. Both use straight cuts along the grainline with zero bias edges, allowing beginners to master consistent 1/4-inch seams without fabric distortion.
Should I pre-wash my quilting fabric before cutting?
For standard patchwork quilts, pre-washing is optional unless mixing deep saturated colors (like crimson reds or dark indigos) with bright whites, or when working with vintage fabrics of unknown shrink rates. Modern premium quilting cotton shrinks uniformly between 2% and 4% upon first post-quilt laundering.
How much larger should the quilt backing and batting be than the quilt top?
The batting and backing fabric must extend at least 4 inches beyond all four edges of the quilt top (total 8 inches wider and longer) for domestic machine quilting or longarm frame loading.
Why are my quilt blocks turning out smaller than the pattern states?
Undersized quilt blocks are almost always caused by an overly wide seam allowance (using a true 1/4" instead of a scant 1/4"), pushing the iron across seams rather than pressing vertically (which stretches bias fibers), or failing to square up blocks after rotary cutting.