
Happy Thursday, Everyone!
Today I finished up the second fabric collage of Rockport, MA with a beautiful coat of resin. If you’ve been following along on the past few blog posts, you’ll see that this has been in progress for a while and the technique of creating a fabric collage and then sealing it with the resin is new for me. My passion lies with the click of the camera and taking photos one or two more steps into the world of fabric just fills me with wonder.
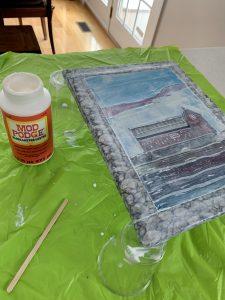
In order to resin a fabric collage, you do have to seal it with Modge Podge or a similar product. I put a good coating on my canvas and then smooth the collage over it and wrap the sides around. I like to put three coats on at a time, let each coat dry, and then let it sit to cure for 24 hours.
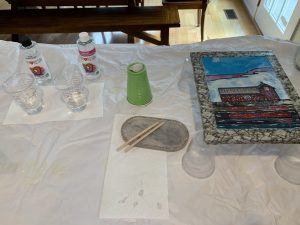
Once I’m sure it’s all dry, I then prepare to add the resin coat. I have tried a few different resin products but my absolute favorite is ArtResin brand. It’s nice to work with and their website has a resin calculator to help figure out how much of the product you will need to mix up to cover your work.
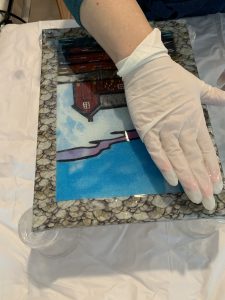
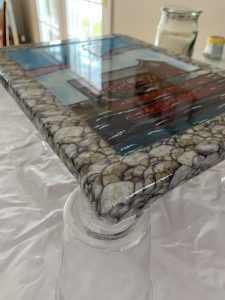
I like to mix it up, pour it over the collage, and use my gloved hand to distribute it evenly across the top and over the sides of the canvas.
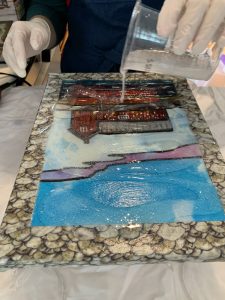
You can see how shiny the resin is on the surface…
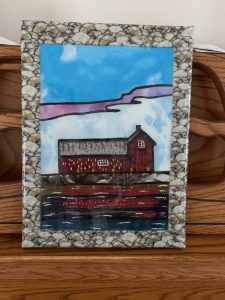
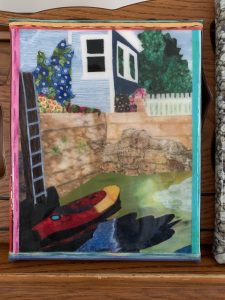
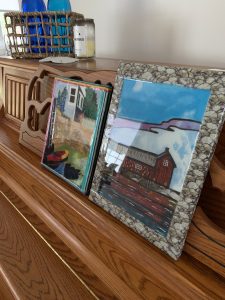
I let the resin cure for 72 hours before really handling the project. I’m so excited to now have two finished pieces! The first was the kayak collage. For those not familiar with Rockport, it’s a coastal town in Massachusetts and home to this quaint fishing shack also known as Motif One. It is said to be one of the most painted buildings in the world. I am getting ready to begin the third in the series next week.

I’d love to hear if you have tried fabric collaging techniques before and what your favorite method might be!
Sandi
