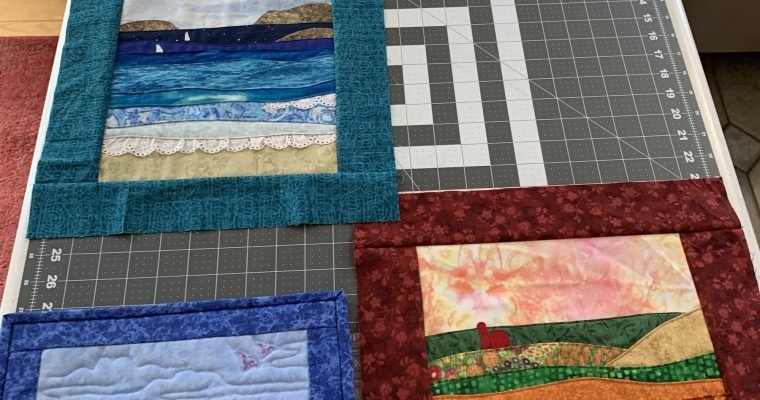
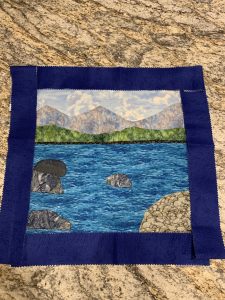
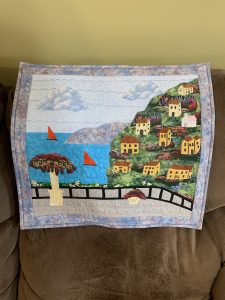
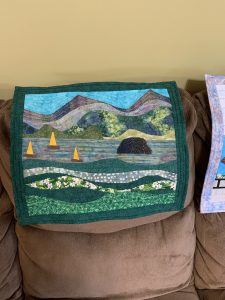
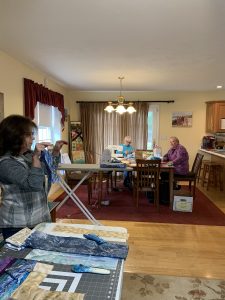
Last week we kicked off our workshop schedule for the year with a landscape quilt class! Through fabric we took ourselves to the ocean, the mountains, and even some farm lands! We had a small group but we sure had fun! Here are some photos of our creations and the samples!


And a photo of our lovely group that day!
In this week’s newsletter, I wrote about wavy borders, why they occur, and how you can fix them very easily! Read on below for an excerpt from the newsletter…
Can we talk about wavy borders?
Have you ever finished a quilt and then realized that the borders don’t look flat, they look wavy instead? Is there anything more deflating than that? There’s a simple fix for this problem. First, let’s talk about why this occurs. The main reason why borders get wavy is because they actually don’t fit the length and width of the quilt properly. Most people line up a border strip, stitch it down the side of the quilt and lop off whatever is hanging over. This is causing the issue.
If you cut a border strip without measuring the quilt accurately first, the borders will be ill fitting. The best way to ensure that this doesn’t happen is to do this:
For side borders: Measure the quilt from the top to the bottom in three places -left side, center, right side. Take an average of those three measurements and that is the length you cut the borders. You probably think you’ll get the same measurement for all three places but generally you won’t due to difference in seam allowances. Your quilt could actually be an entire inch longer on one side than the other! Once you cut the proper length border strips, you will ease them into place on either side of the quilt. This might require some fussy pinning as you might have to tug a little here or ease a little there to get quilt TO FIT the border.
For top and bottom borders: Measure the quilt from side to side in three places- top edge, center, bottom edge. Take an average of those three measurements and that is the length you cut the borders. Pin the border strips into place by fitting the quilt to those strips as described above. Repeat for each border set you are adding to your quilt.
Follow these steps and you’ll have a beautifully squared up quilt with no waves or ripples! And as a bonus, your long armer will LOVE YOU!!!
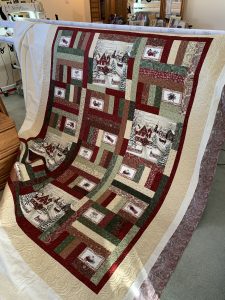
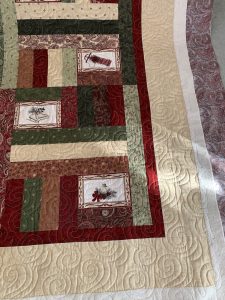
And speaking of long-arming, check out this beauty that I had the pleasure of quilting this week…isn’t it lovely?
What are you all working on this week? Please share in the comments, I’d love to hear about your projects!
Sandi
