For my lovely quilt class students, welcome back to the blog. This is the easiest way for me to show you the beginning steps of the slice rug workshop we’ll be having on September 17th. I wanted to get the beginning steps out to you with photos before my vacation.
The slice rug itself is a very easy pattern but it takes a goodly amount of time to complete. If you can follow along with the pattern and also my steps below to get the individual ropes stitched, we’ll be in great shape for me to show you the rest on the actual workshop day. So consider this post your first part of the workshop! Are you ready?
First off, you need the pattern, the precut batting strips (25 yard roll), and a jelly roll in a color scheme you love. You can find the the pattern and batting on Amazon by clicking the links below (if you order through these link, I am an affiliate and will earn a teeny tiny percentage…just an fyi). You also need a spool of thread that coordinates with your color scheme (I used Auriful brand), straight pins, a size 90 or 100 needle, and Wonder Clips.
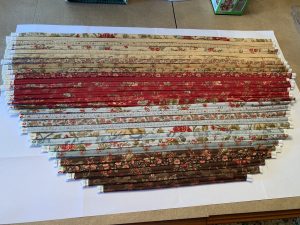
Once you have the pattern, please open and read all directions. The first step is to choose 29 strips for the rug and 2 strips to set aside for binding. The instructions show you how to line them up on the layout diagram and what length to cut each one into. Go ahead and cut them. I numbered mine on the selvedge edge. Pretty easy stuff…
Next is the part that I’d like to show you with my own photos. These are the steps where you are placing a cut fabric strip right side down and then placing a strip of batting over it. I cut each piece of batting to size with about an extra half inch added on. I found that to be easier than using a continuous strip of batting as the pattern suggests.
Here is the fabric strip and batting together being pinned…

The next step is to fold each long side of the strip toward the center, and then fold again so the strip has a single fold on one side and a double fold on the other. In order to get each side to fold evenly, I pinned the strip all the way down on both sides and then used a Wonder Clip to secure…
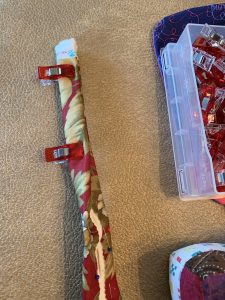
Be sure to remove all the straight pins as you are securing with the Wonder Clips (I accidentally sewed a straight pin into one of mine)…
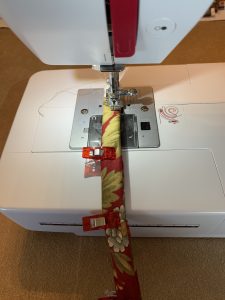
Next you stitch down the strip with a 1/4″ seam. I did each strip individually which is different from the continuous way the pattern suggests. My way was easier to handle in the machine.
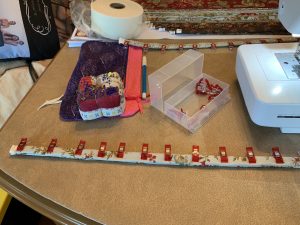
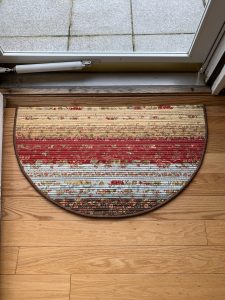
Eventually, you end up with all the ropes done and lined up and numbered…
If everyone can get their ropes to this point of being folded and stitched, that will be awesome. Do not worry if you can’t get to it or if you get stuck. I will be ready to add a second rug workshop date if needed. This is a fun but long project and I know you’ll love the end result!
Let me know if you have any questions!
Sandi
